

Creating a dynamic lookup table in Zapier
I’ve been working on automating more and more these days and a common issue I keep dealing with is mapping data from one platform to another within Zapier. I have a user or project that exists in the one system that needs to go to the right place in the other system.
Zapier has lookup tables but you have to add every single possible match manually, you can’t easily populate the key to lookup via a previous data source. I figured it was a good time to come up with a simple pattern and figured I’d share it.
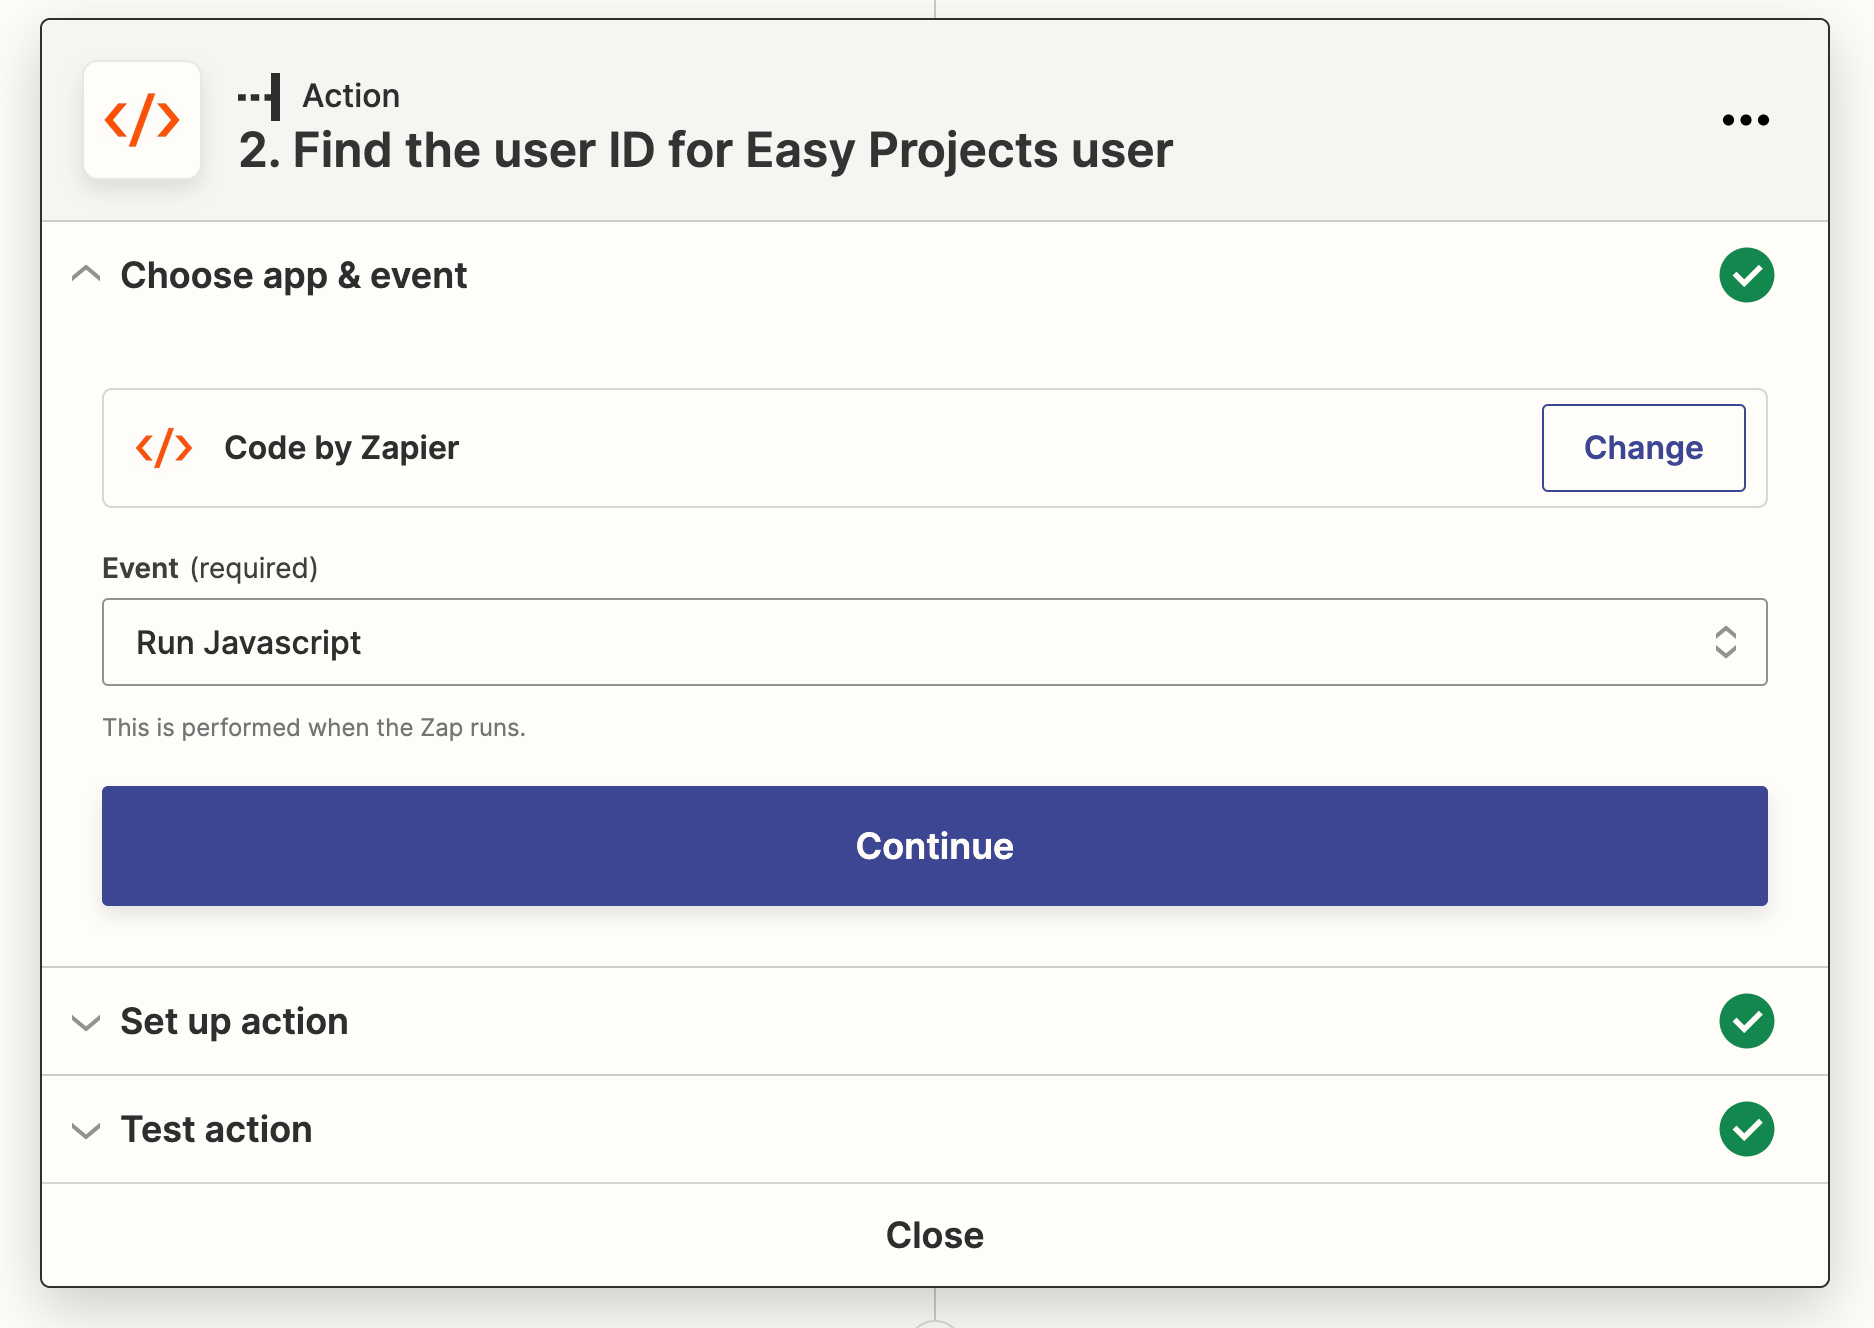
The most recent example where I did this was to map a user ID in Zendesk to a user ID in Easy Projects. These integrations are both supported out of the box in Zapier but with a regular lookup table it’d require me to pre-fill every user from Zendesk into Zapier.
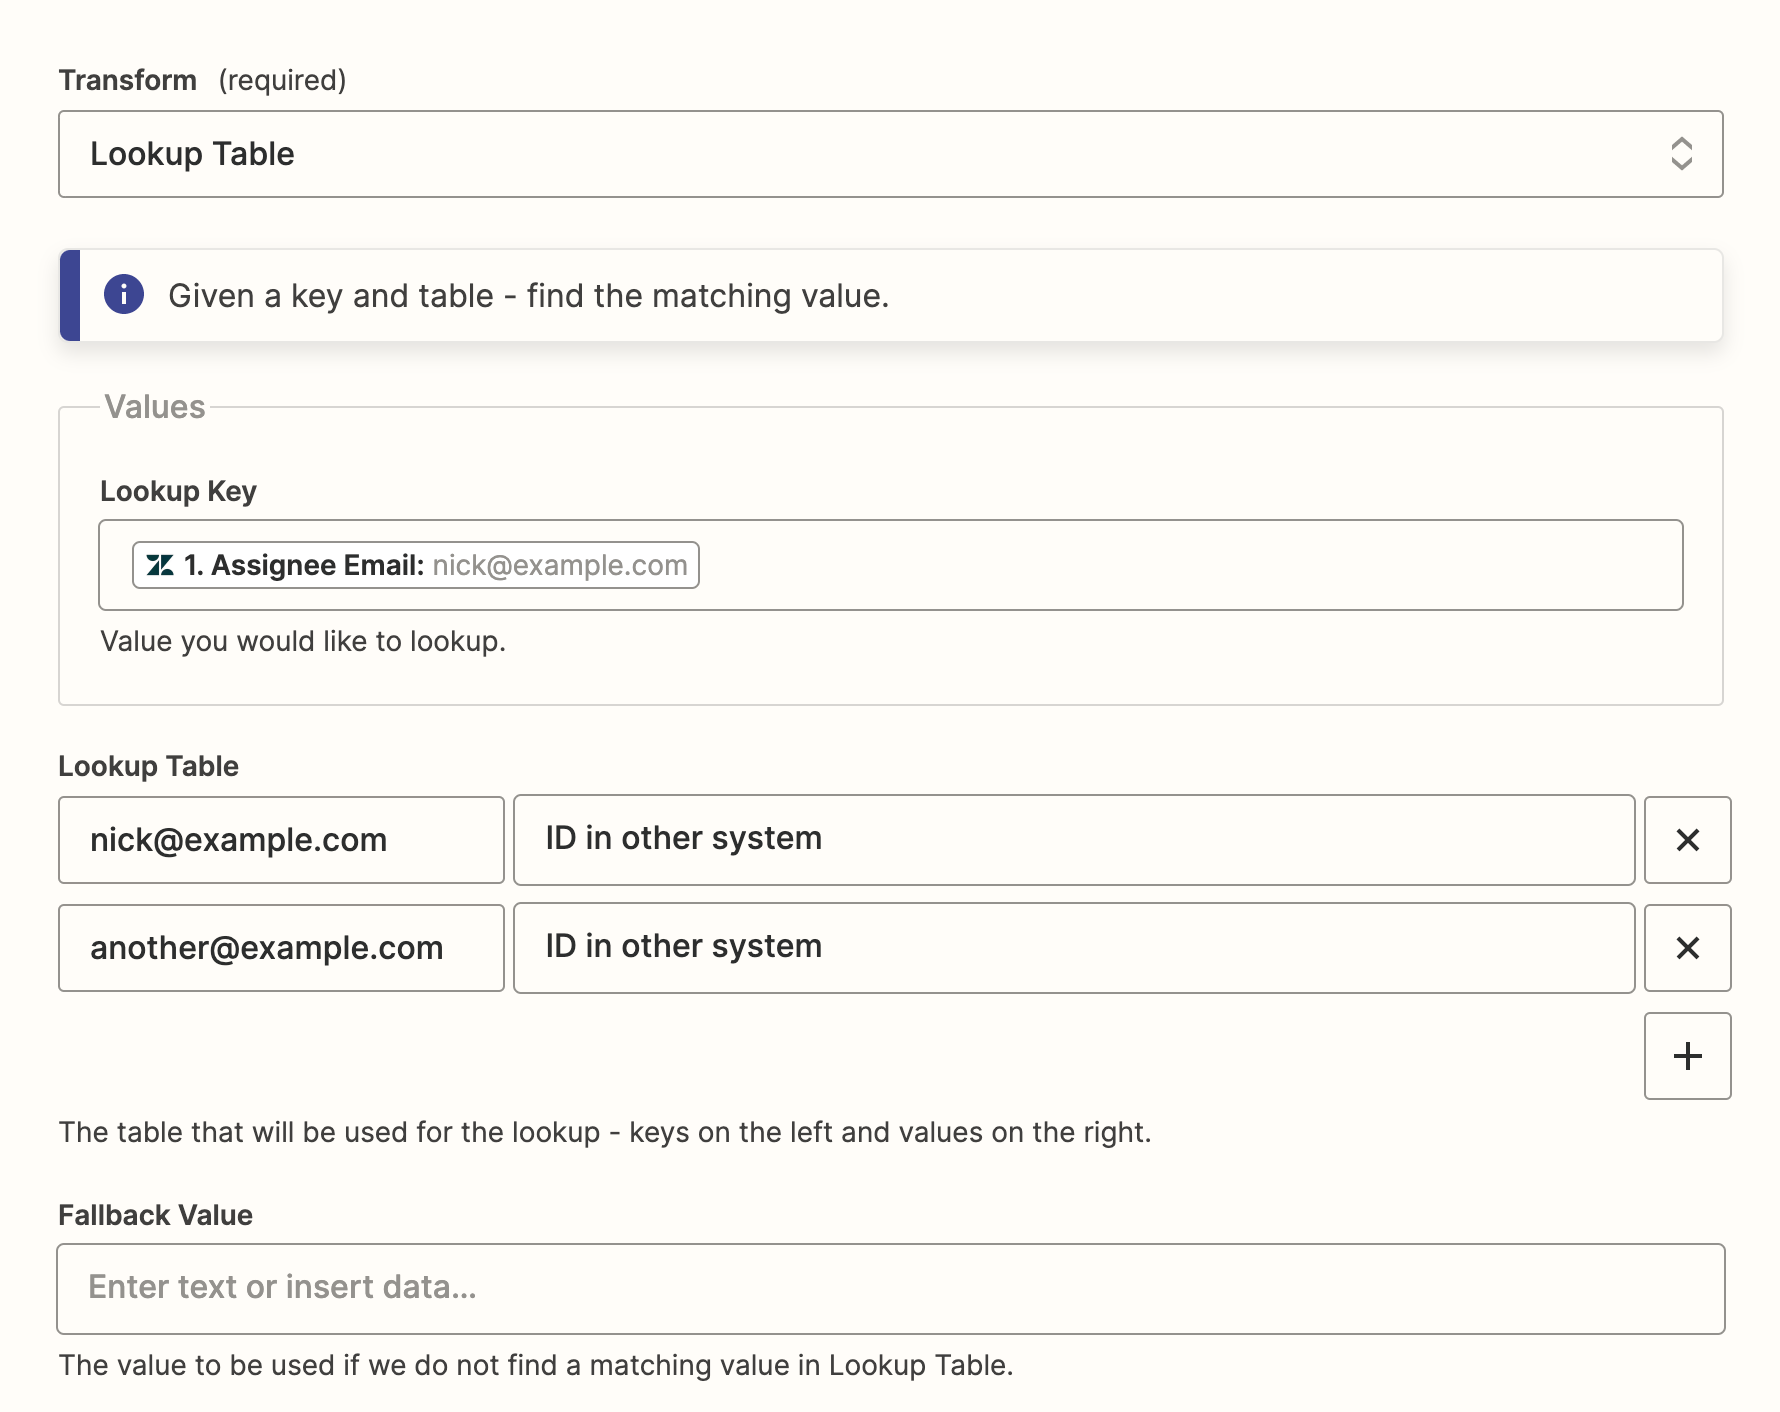
You can provide dynamic values in the keys for the lookup table but what I really want to be able to do is say “Find the user ID for this user in Easy Projects based on the email nick@example.com”. There are a few other examples out there where you’re doing some complex looping in Zapier and multiple formatters but we can accomplish this in a simple code step.
To get this going we just need a trigger that provides us an email address, we’ll use that value from the trigger to create the dynamic lookup table. Go ahead and create a trigger and then an action with Zapier code.
Within our dynamic lookup table the main thing that we’re trying to accomplish is to take an incoming value and then find that within a pretty typical array of json dictionary objects that we get back from an API. For this API it looks something like this:
[
  {
    "id": 5,
    "first_name": "Nick",
    "email": "nick@example.com",
    "location": "Phoenix, AZ"
  },
  {
    "id": 10,
    "first_name": "John",
    "email": "john@example.com",
    "location": "Tucson, AZ"
  }
]
Then we’ll want to utilize something like this to find that value within the list of users returned from the service.
// Grab the users from the API
const users_response = await fetch(
  'https://nickhammond.easyprojects.net/rest/v1/users',
  {
    headers: {
      'Authorization': 'Basic auth-string'
    }
  }
);

// Convert the response to json
const users_json = await users_response.json();

// Find the user in the API where the email matches the input email
output = await users_json.find(user => user.email == inputData.email);
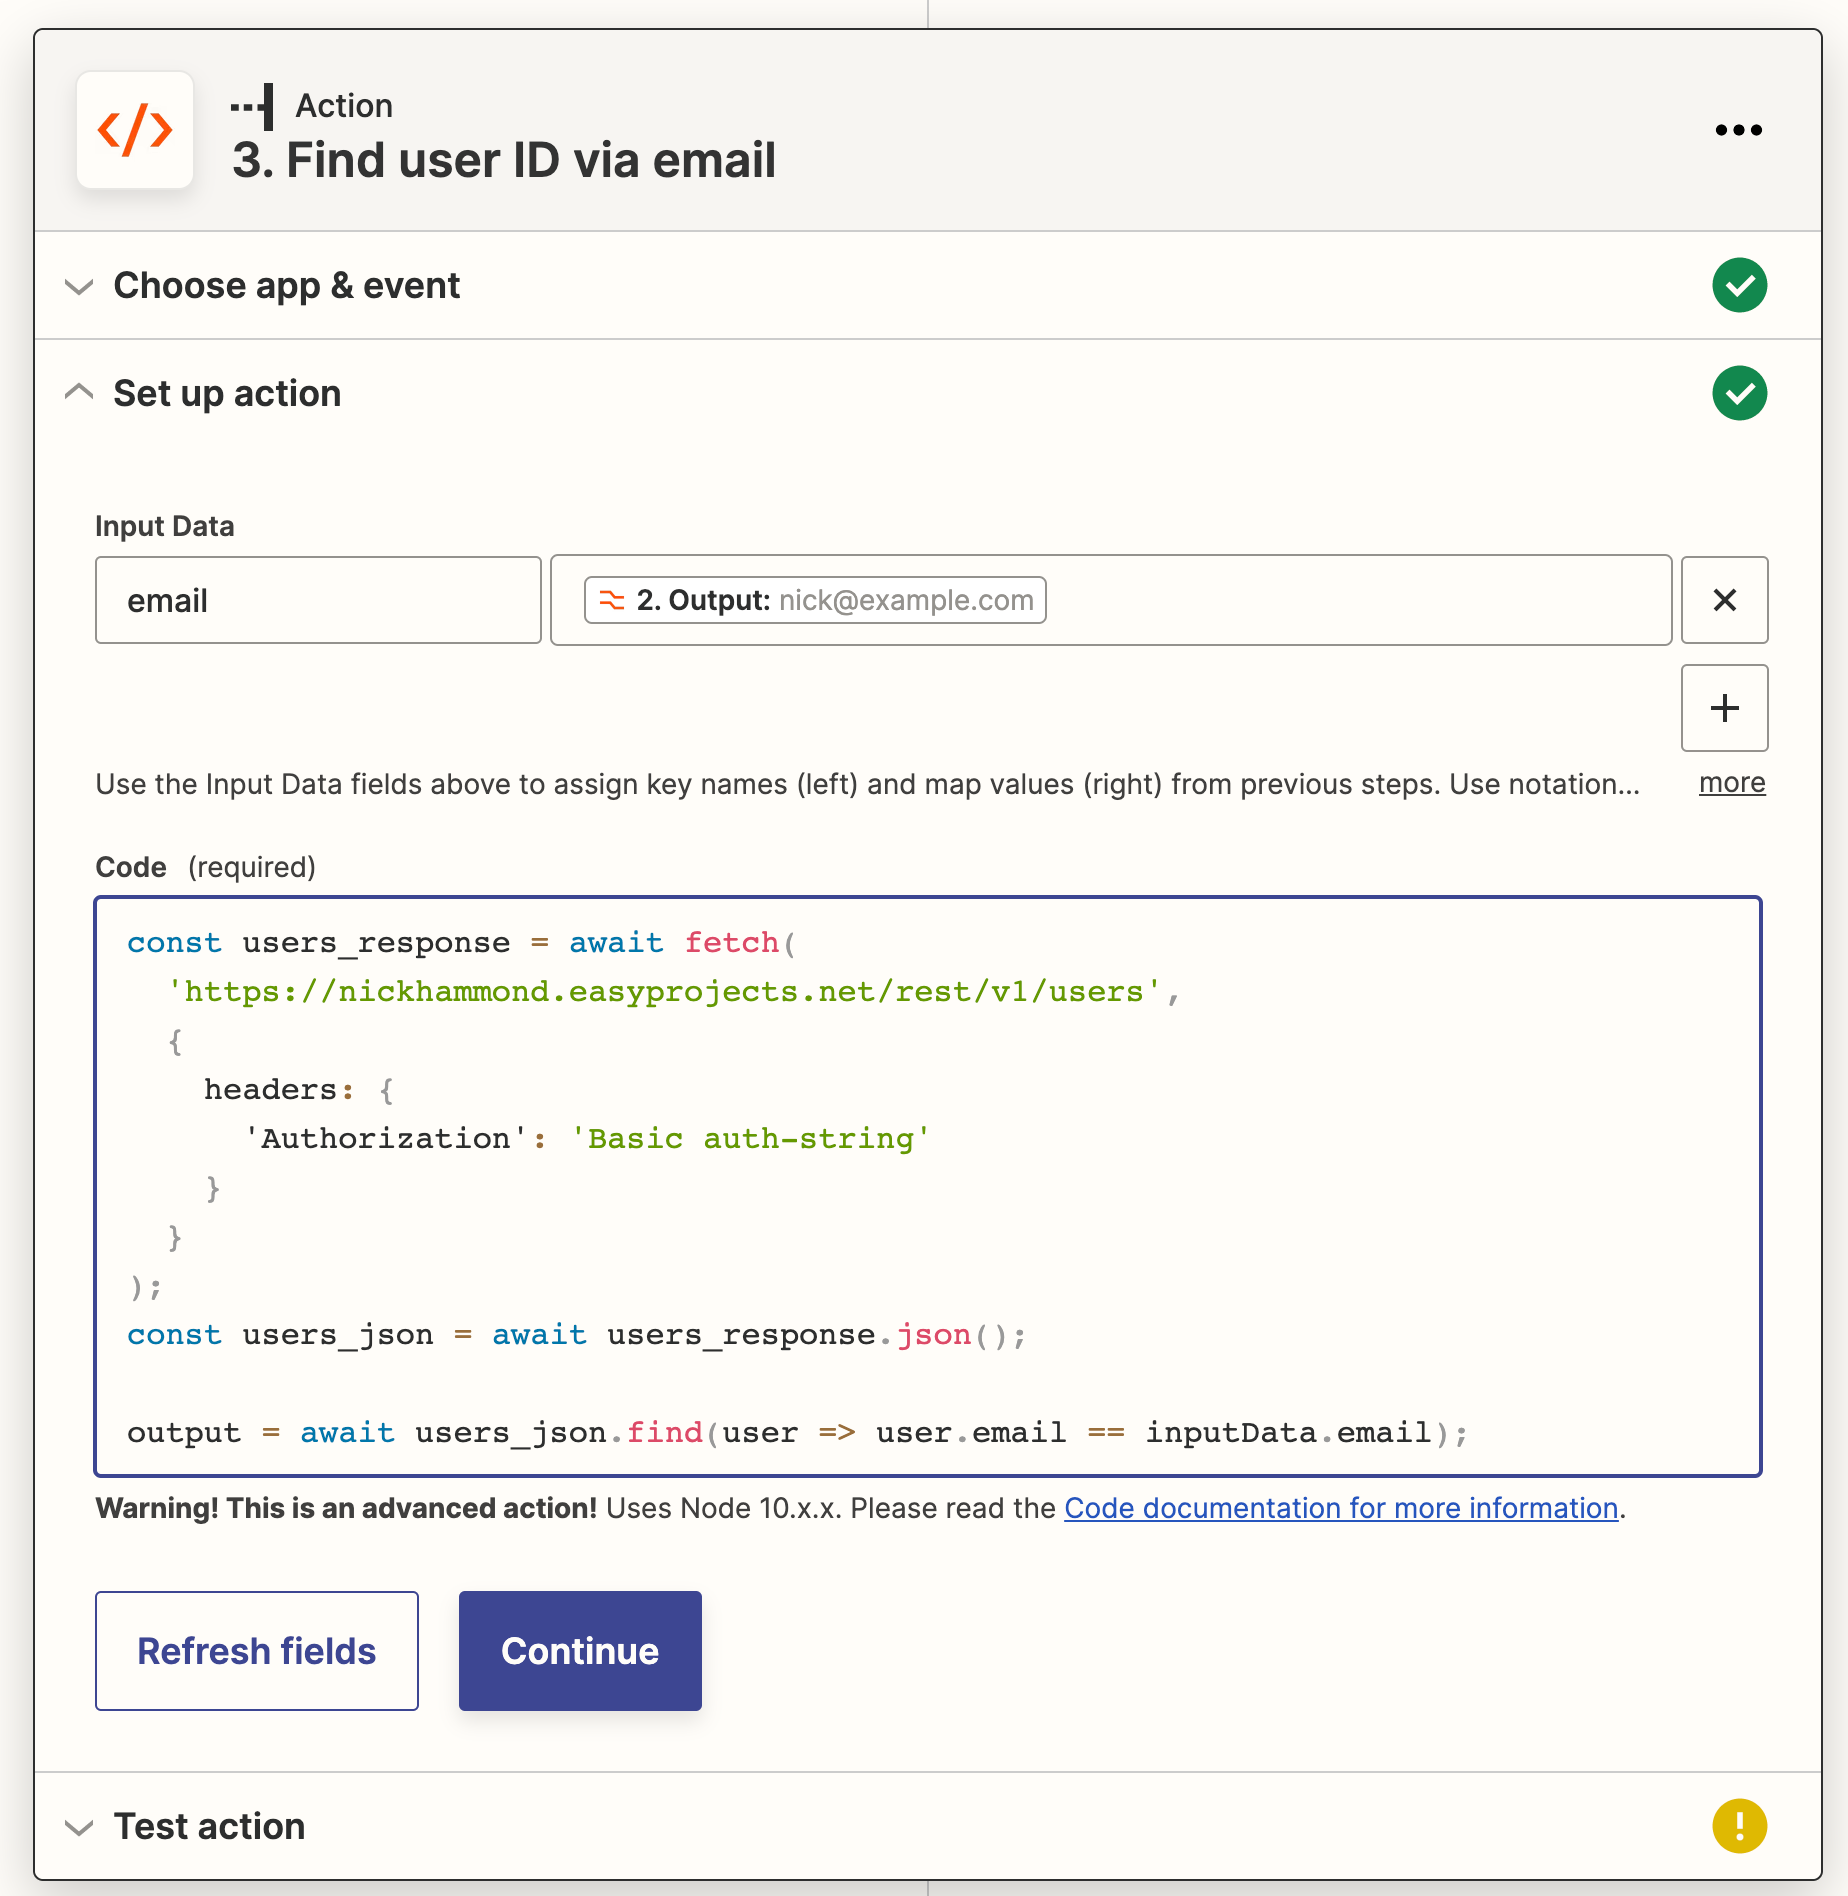
The main thing in this code snippet that’s dynamically filtering down our data is the find function. It’s a simple iterator that goes through all of results from the API response and returns the first one where our conditions match, where the input email matches the email address of a user from the other system.
users_json.find(user => user.email == inputData.email);
Once we have that in there we can run and test it which will return the specific details for that user. From there we can utilize any attribute we need on that user such as first_name, id, etc.
You could also take this a step further and especially if you’re using this API data in other zaps by creating an isolated zap that saves this data with a Zapier storage step. With Zapier’s newer storage steps, you’d save each user in a key value store and then find that user by a key such as email address.